-40%
Batting Cage Frame Kit 12' x 12' x 70' EZ UP & DOWN Baseball Softball Frame Kit
$ 266
- Description
- Size Guide
Description
Visit Our eBay Store!Batting Cage Netting
Batting Cage Frame Kits
Baseball Safety Screens
Golf Cage Netting
Steel Aircraft Cable
Jones-Sports
Visit Our eBay Store Today!
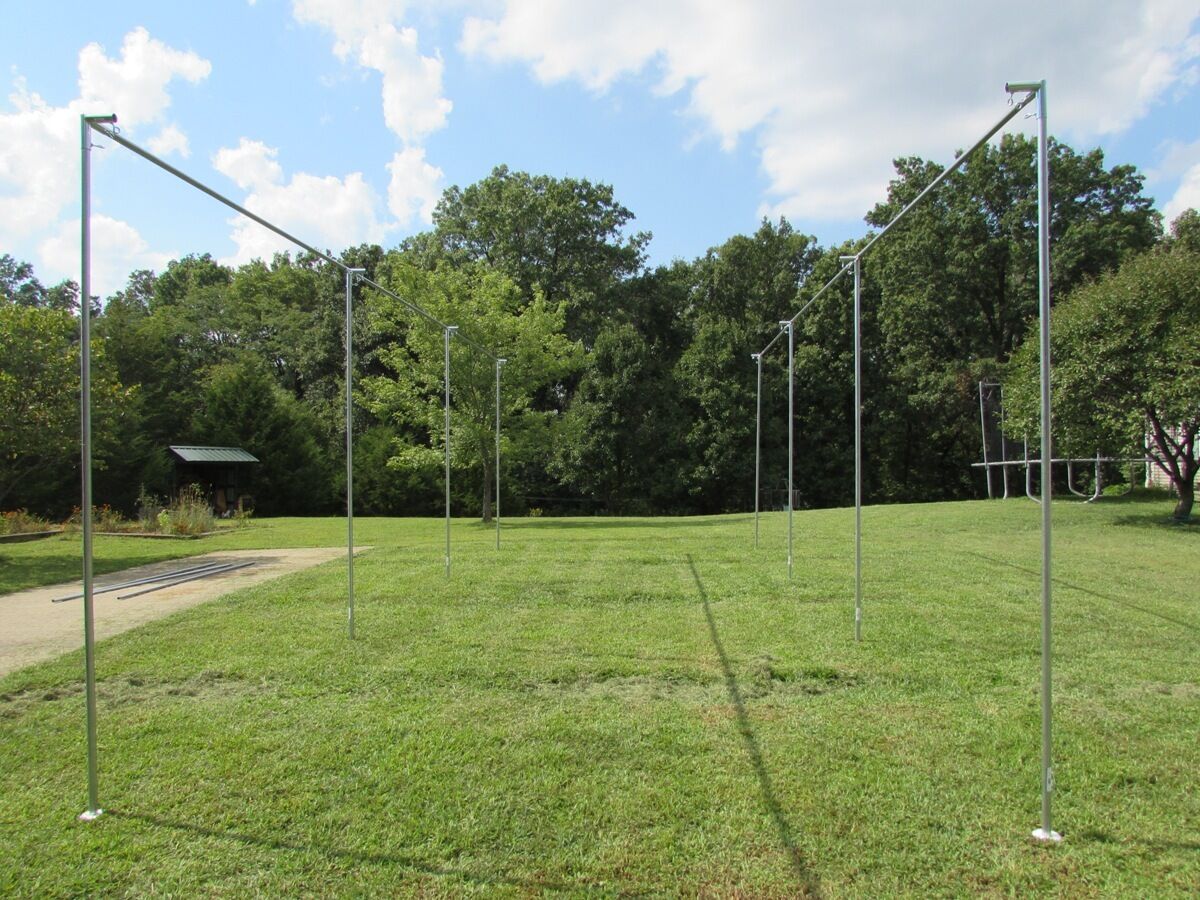
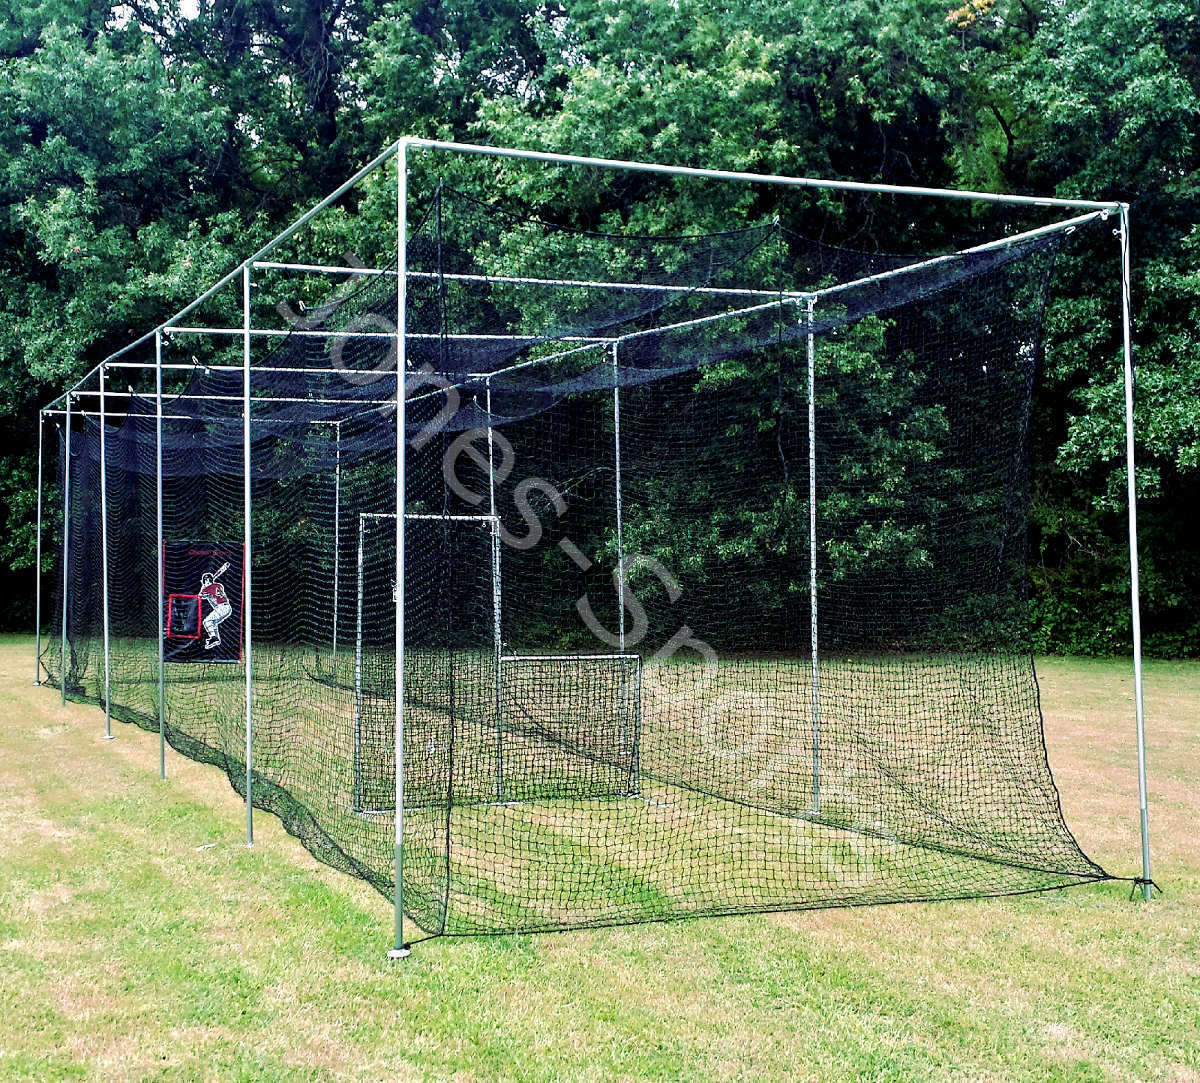
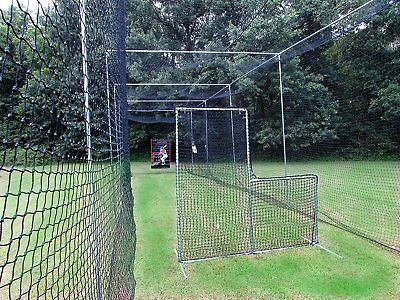
Baseball Batting Cage Frame Kit fits a 12' x 12' x 70' Net
Durable 1 3/8" steel frame corners
The poles being 1 foot in the ground make this frame very wind resistant
Easy Up & Down
(After the initial installation one person can take this frame down or put it up in less than 30 minutes.)
All hardware to hang your net is included
Save money on high shipping costs
Free standing
Easy to assemble
12' x 12' x 70' Net Here!
All of our frame kits, the net hangs inside of the frame. Why? Because you don't want the ball bouncing off the frame & coming back and hitting you in the head.
Our 70' x 12' x 12' - 1 3/8" frame EZ UP & DOWN Batting Cage Frame Kit was designed by us here at Jones-Sports. It is an excellent, well-thought out design. I think you will like it as much as we do. Save money on shipping by purchasing the poles at your local hardware store. Kit comes with everything you need to assemble except the poles.
You will need to purchase 35 pcs. 10' 6" poles from Menards, Lowe's, or Home Depot.
Menards Sku# 171-5301 or Home Depot Sku#-181697 These cost less than each.
Why buy from us?
We are a family business started by my grandfather over 50 years ago. We intend on being in business for another 50 years. We have over 20 years' experience with netting & have shipped to 10s of thousands of customers worldwide. We only sell quality, well made products.
Installation Suggestions:
The frame for your netting is 1 foot longer, 1 foot wider and 6 inches shorter than your net size. For this 12' wide x 70' long net your corner ground inserts center to center will be 13' x 71'. You will have, a
long the 71' side,
ground inserts at 0', 11' 10", 23' 8", 35' 6", 47' 4" & 59' 2".
Use a string for alignment and a tape measure to make sure that you get all of the Ground Sockets installed in the proper location. Also measure across the diagonals to ensure the frame is square.
Customers Living in Hawaii, Guam, Puerto Rico, Alaska, etc., it is more expensive to ship to these locations. Please contact me for a shipping quote. Thanks Bruce
Check out our new installation video!
Baseball Softball EZ UP Down Batting Cage Frame Kit for Home thru Commercial Use Jones-Sports.com - YouTube
Video will open in a new window
Using the eBay App? Paste link into a browser window:
[isdntekvideo]
Note: The Batting Cage Net & 1 3/8" Top Rail Poles are
NOT
included with this frame kit.
The 4-way fittings supplied with this particular kit are Pass-Through fittings, which makes for a stronger frame. You also don't have to cut and attach a lot of small pieces.
If you prefer, you can also purchase 21'-long pieces of 1 3/8" top rail pipe. They are available at Menards, and a lot of fencing companies also stock them. All directions below are for using the 10' 6" pipe, because it is easier to haul & store.
Jones-Sports 12' x 12' x 70' EZ UP & DOWN Frame Kit
Installation Instructions:
Kit Includes the Following Parts:
(A) 3-Way Corners, 4 pcs.
(B) 4-Way Pass-Thru fittings, 10 pcs (The pipe will slide all the way through the fitting)
(C) 30" Pipe Extensions, 7 pcs.
(D) 30" Leg Extensions, 14 pcs
(E) Self-Drilling Screws, 31 pcs
(F)
Short
Net Hangers,
19
pcs
(G) Long Net Hangers, 22 pcs
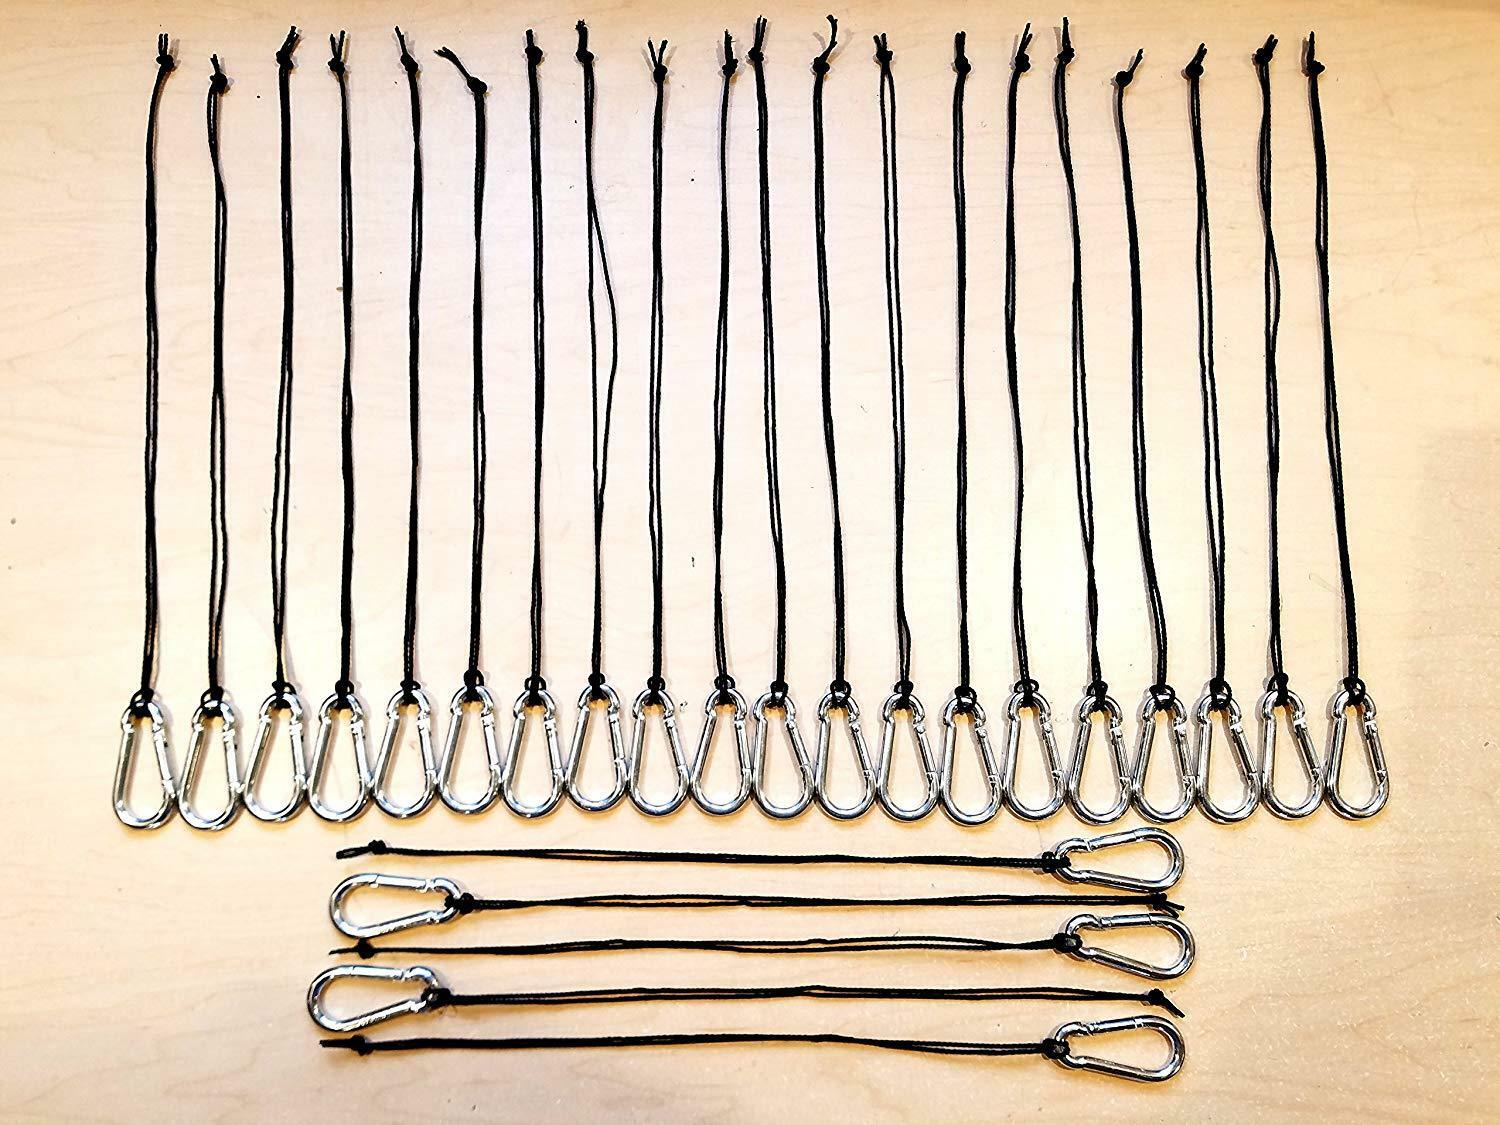
(H) Carabiner, 30 pcs
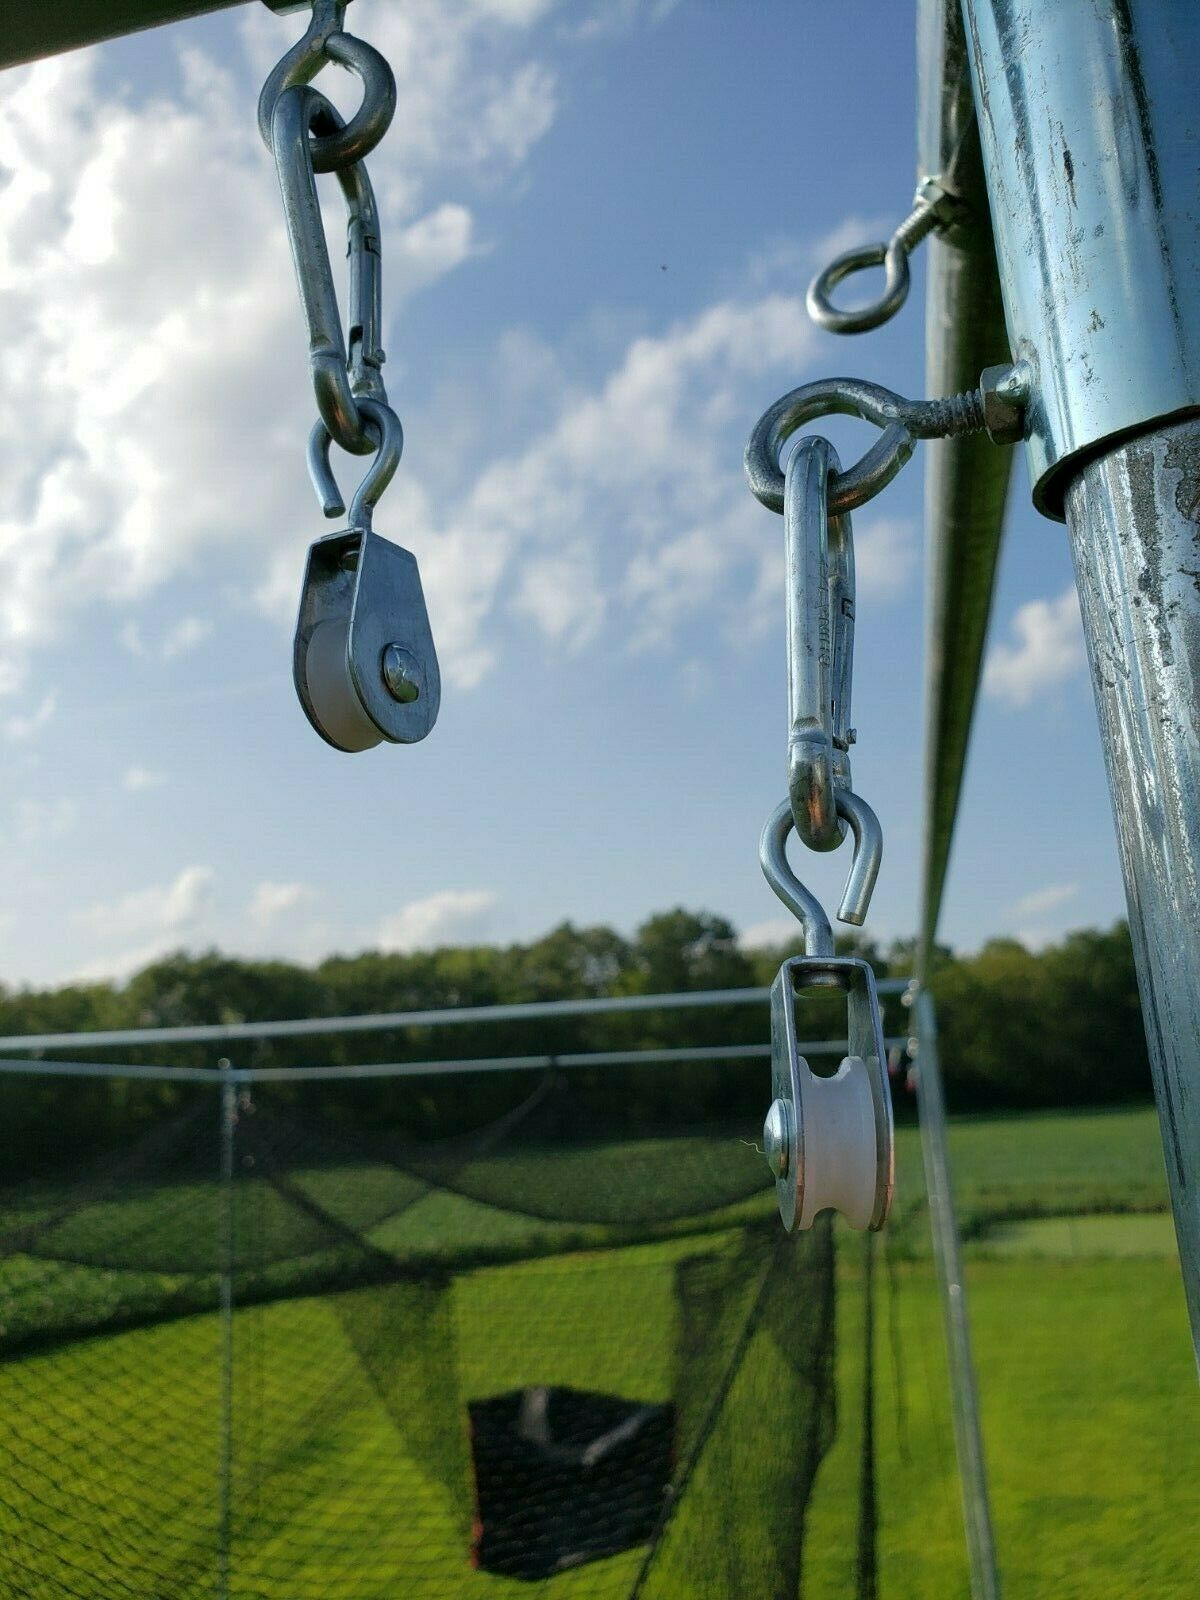
(I) Pulleys, 22 pcs
(
J
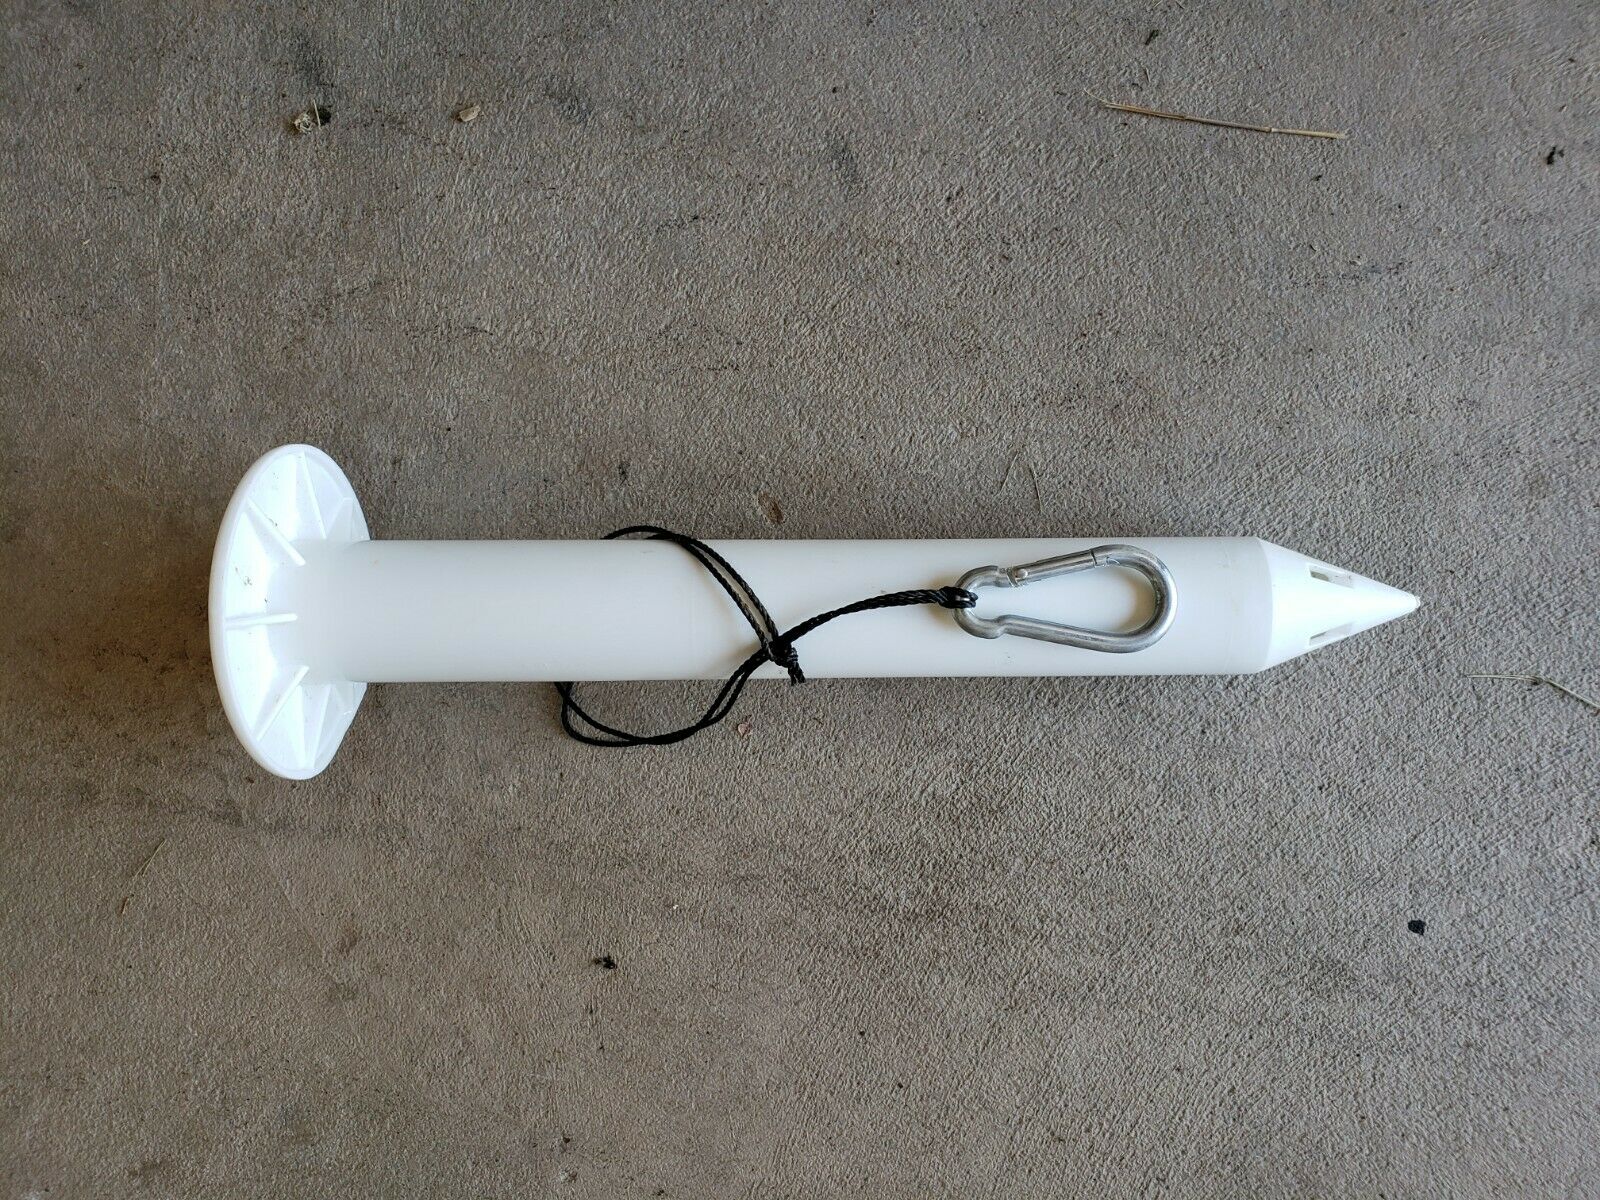
) Ground Sockets, 14 pcs
(
K
) Ground Socket Auger
(
L
) Ground Socket Installation Tool
(
M
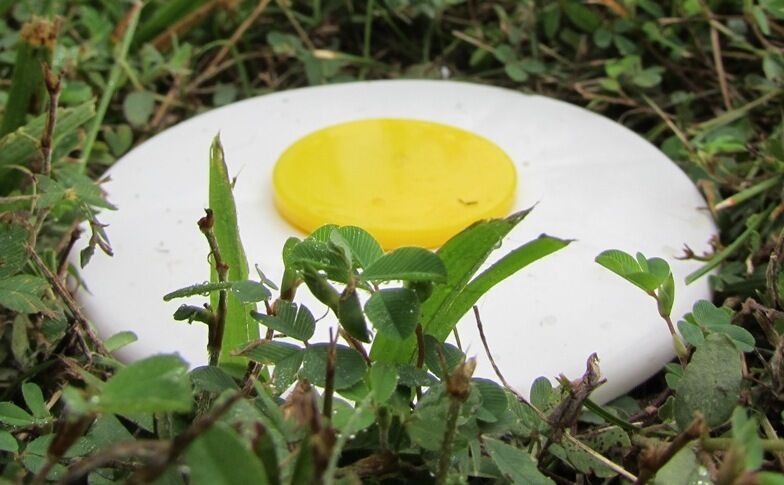
) Yellow Socket Plugs, 14 pcs
Kit Does NOT Include the Following Parts:
(CL) 10' 6" Length Top Rail Pipe 35 pcs NOT INCLUDED
You will need an area about 71' Long & 13' Wide. We recommend that you mark off this area before starting.
1. Center to center, your 4 corner ground sockets will be 71' x 13'. Lay this out with stakes, string, and a tape measure. Measure across both diagonals to make sure they measure the same so that everything is square.
The diagonal should be about 72’ 2” across.
2.
Use the Auger bit to drill the 4 corner holes. Don't
push down to hard on
the bit or it will screw into the ground. Let it dig. It works very well.
L
et it drill down a bit then back it out allowing the bit to clear the hole of excess dirt. Repeat until the hole is deep enough.
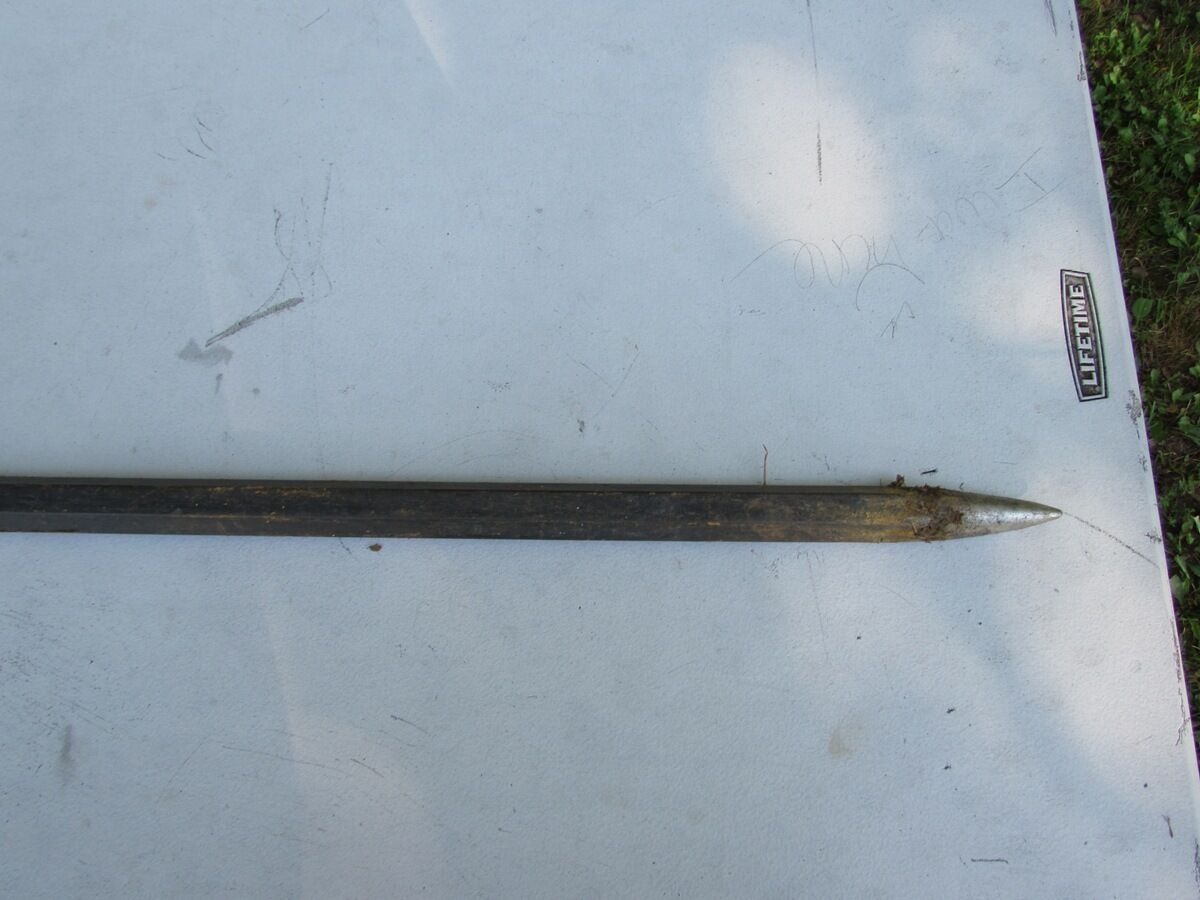
You will have a 12" deep hole in a minute or two. If you run into rocks or roots you can also use a 6' long bar (like is pictured above) to make the pilot holes.
3.
Take one of the short net hangers and wrap it around each ground socket and back through itself.
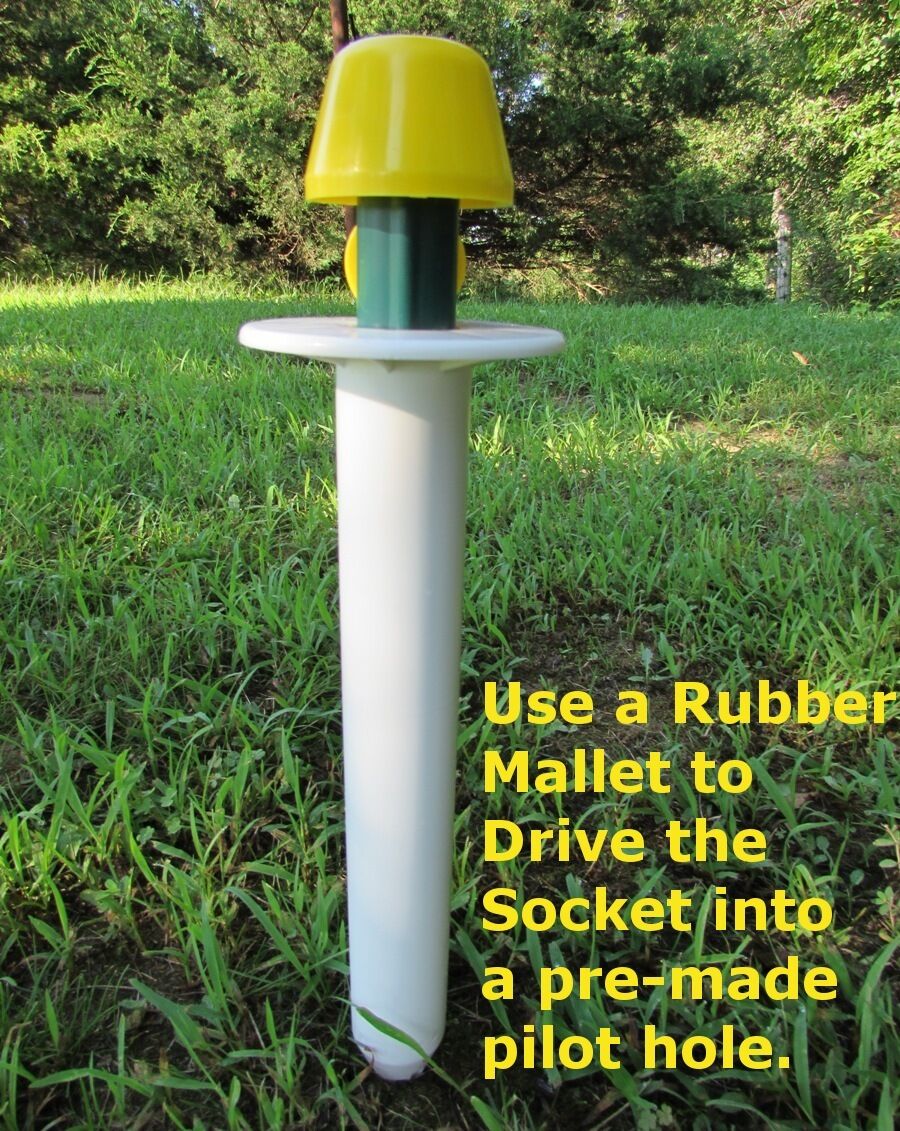
Install the corner Ground Sockets using the installation tool
and a rubber mallet
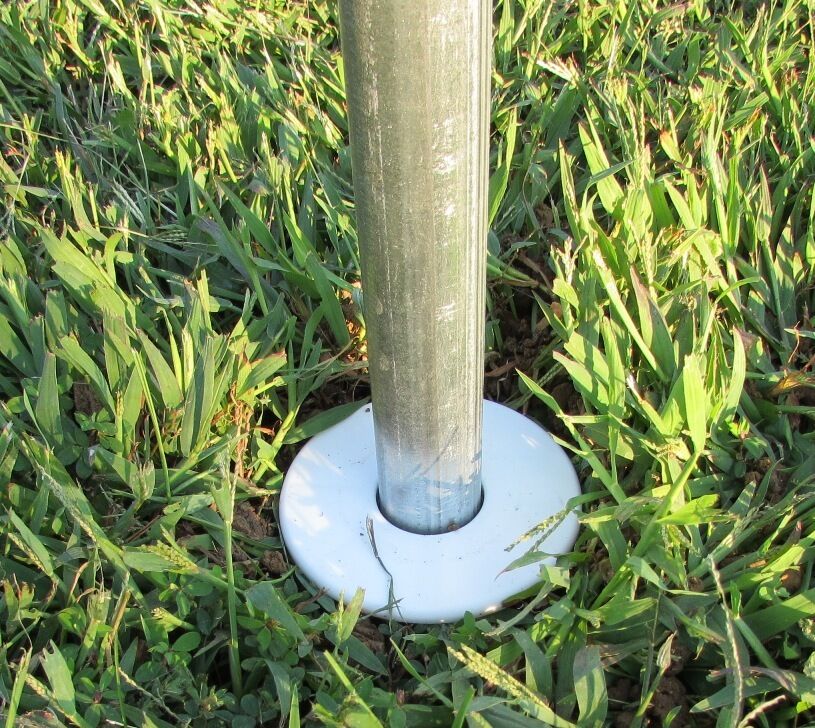
. The top of the Ground Socket should be flush with the ground.
4
. Now use the Auger Bit and the same process to Install the side poles, evenly spaced at
11' 10", 23' 8", 35' 6", 47' 4" & 59' 2".
5
. Assemble 30" pipes (D) to 1
4
of the 10' 6" length vertical poles by drilling a small hole, then inserting self-drilling screws (E).
These will serve as your upright poles.
6.
Install the 4 pcs of 3-way fittings, and the 10 pcs of 4-way fittings onto the 30” side of the vertical poles you just assembled. One a piece. Make sure to loosen the eye bolts on the fittings so that you wont have to later.
7
. Put
the
1
4
pcs top rail pipe
from step 6.
fitting
side up in
to
the Ground Sockets
8
.
Assemble 30" pipes (C) to 6 of the 10' 6" length poles by drilling a small hole, then inserting self-drilling screws (E).
These will serve as the center sections of the frame connecting the two long sides of the frame.
9
. Assemble 7 pcs. of the 10' 6" pipes together on the ground. The overall length of the 7 pipes assembled together will be about 72'. Cut approximately 1' off one of the pipes so that the overall length is only 71'. You will need to drill holes to attach these pipes together. Wait until you get them in the air before inserting the screws.
10
. Repeat step
9
for the other side.
11
.
Using a ladder install the center sections from step 8 into the fittings. Once installed tighten the eye bolts in the center.
12. Using a ladder install the
remaining pipe into the fittings on the long side of the frame. The pipe will slide though the 4-way fittings.
13.
Use a level to adjust the vertical poles as needed to make them level. Then tighten the rest of the eye bolts, and get ready to hang your net.
HANG YOUR BATTING CAGE NET
1.
Lay our your batting cage inside the frame. If your cage has a door now would be the time to find it and make sure it is on the end of the frame you want.
2.
Attach a carabiner clip to each of the pulleys, and lay out each of the long net hangers so they are easy to access.
3.
Using a ladder attach a pulley with carabiner to each of the center top eye bolt of the 4-way fittings. Now attach a pulley to the top outside eye bolt on each of the 3-way fittings. These are to hang the net from.
4.
Attach the remaining pulleys to the center lower eye bolt on the 3-way corner fittings, and 1 on the center pole 4-way on each side. These are to lift the bottom of the net for easy mowing.
5.
Now start at a corner and with one of the long net hangers. Clip a carabiner clip to one end of the net hanger. Next wrap the end with the carabiner clip around the top border of the net and clip it back onto itself.
6.
Run the other end of the net hanger through the top pulley and pull it down until you can attach it to the small net hanger that is attached to the ground socket.
7.
Now repeat step 6 for the remaining 3 corners.
8.
Using enough long net hangers to install one on each of the 4-way fittings, use the same method to attach a hanger to the top border rope of the net. Run the hanger through the top pulley and pull down to attach to the hanger on the socket.
9.
Use the remaining long net hangers and attach them to the bottom border of the net in the 4 corners, and the two center fittings. Run the hanger up through the lower pulley and attach a carabiner clip to the end you just pulled through the pulley. This will stop the net hanger from pulling back through the pulley.
10.
Using the remaining short net hangers attach the center of the net to the center poles inside the frame.
11.
Now attach all the top rope, center rope, and bottom ropes of the net to their respective corners and centers. NOTE: Do Not Over Tighten. The net should be loose to allow for absorption of the ball impact.
12.
To raise up for easy mowing untie the bottom rope corners and simply pull the hangers attached to the bottom of the net down until you can attach them to the net hangers on the ground sockets.
International Buyers - Please Note:
- Import duties, taxes and charges are not included in the item price or shipping charges. These charges are the buyer's responsibility.
- Please check with your country's customs office to determine what these additional costs will be prior to bidding/buying.
- These charges are normally collected by the delivering freight (shipping) company or when you pick the item up - do not confuse them for additional shipping charges.
- We do not mark merchandise values below value or mark items as "gifts" - US and International government regulations prohibit such behavior
Visit my eBay Store for more products:
Pinnon Hatch Farms
Buyers Who Bought This Item Also Bought :
Steel Aircraft Cable Wire Rope
Turnbuckles
Pulleys
Zinc Carabiner Snap Clips


